
Description
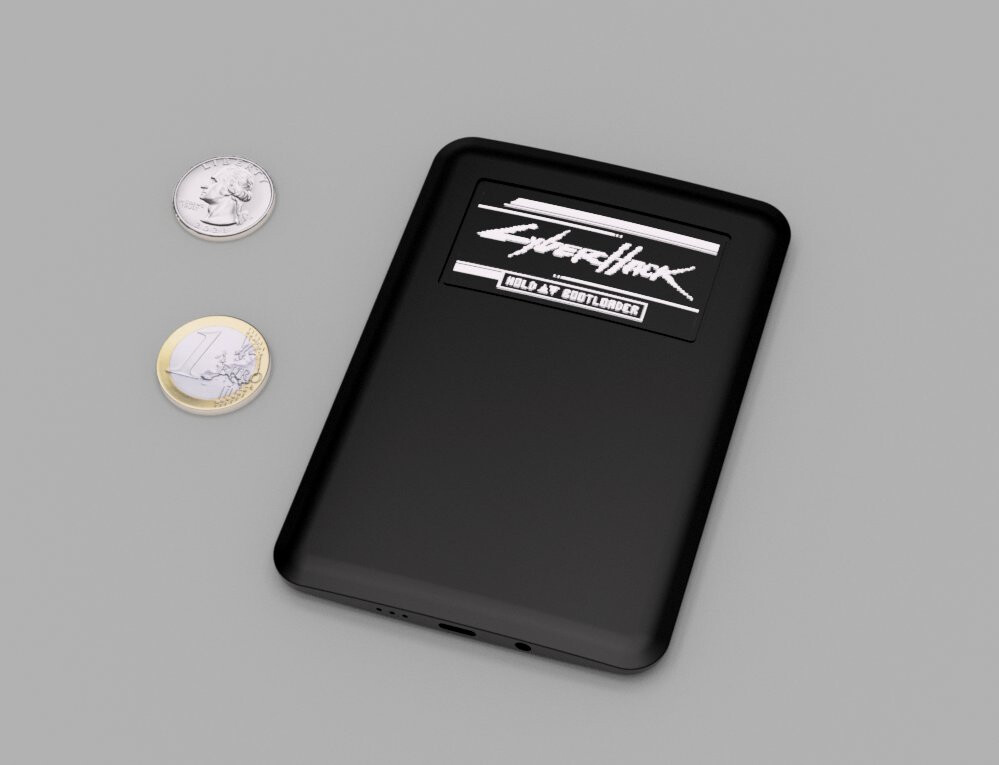
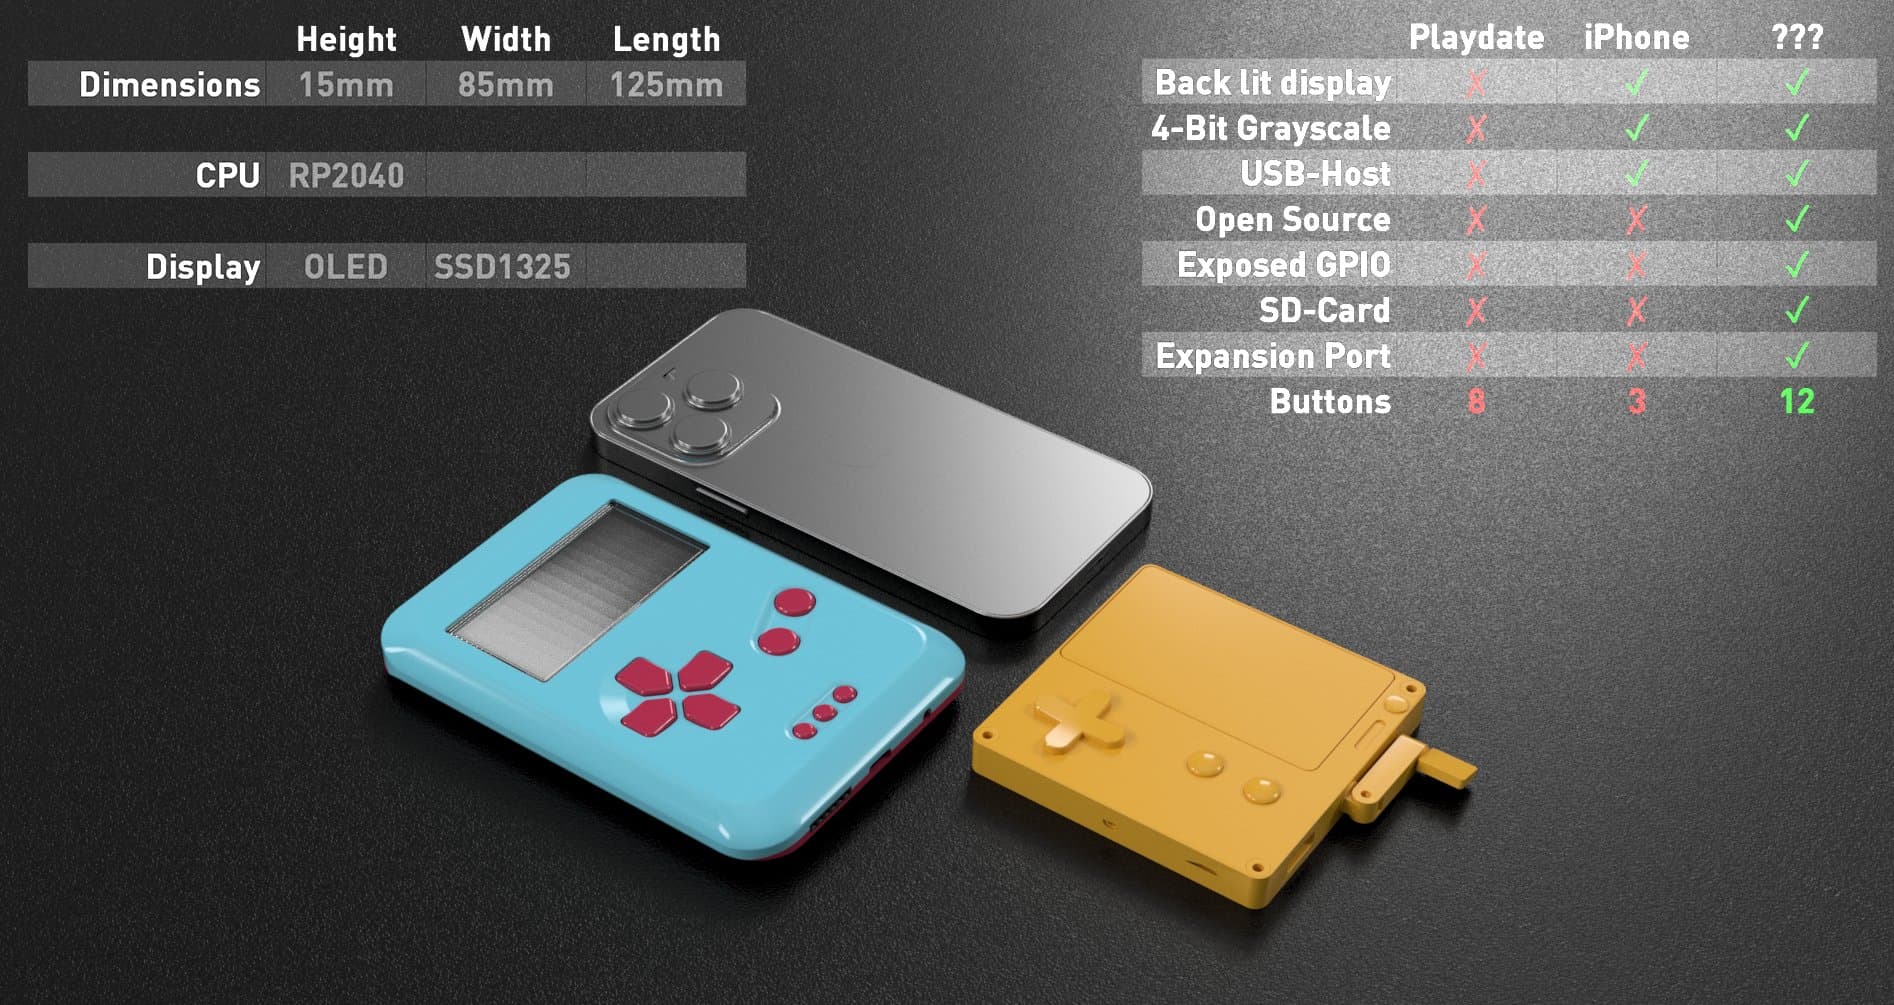
GBA-SP shell with replaced the internals. An open source console designed to be similar to the panic play date console. Using the same display and an RP2040, it uses the same footprint as the original GBA-SP circuit board. (Based on the work by AEFeinstein)
The board is complimented by a “developer module” board that breaks out a bunch of components and includes a m.2 connector configured to the same specification as Sparkfun’s Micro-mod so you could add any co-processor or sensors to the device that you like! Only 2 months into my new community and I’m already debasing the branding with a device using multiple pcbs!
Componnents
- RP2040 Processor
- Sharp Memory LCD 1-bit 400x240
- Audio Amplifier (PAM8302A)
- Volume Control
- Dual USB-C with Host
- TRRS headphone jack*
- Qwiic i2c port*
- SD-Card*
- m.2 Micro-mod port*
*indicates populated on developer module.
Schematics
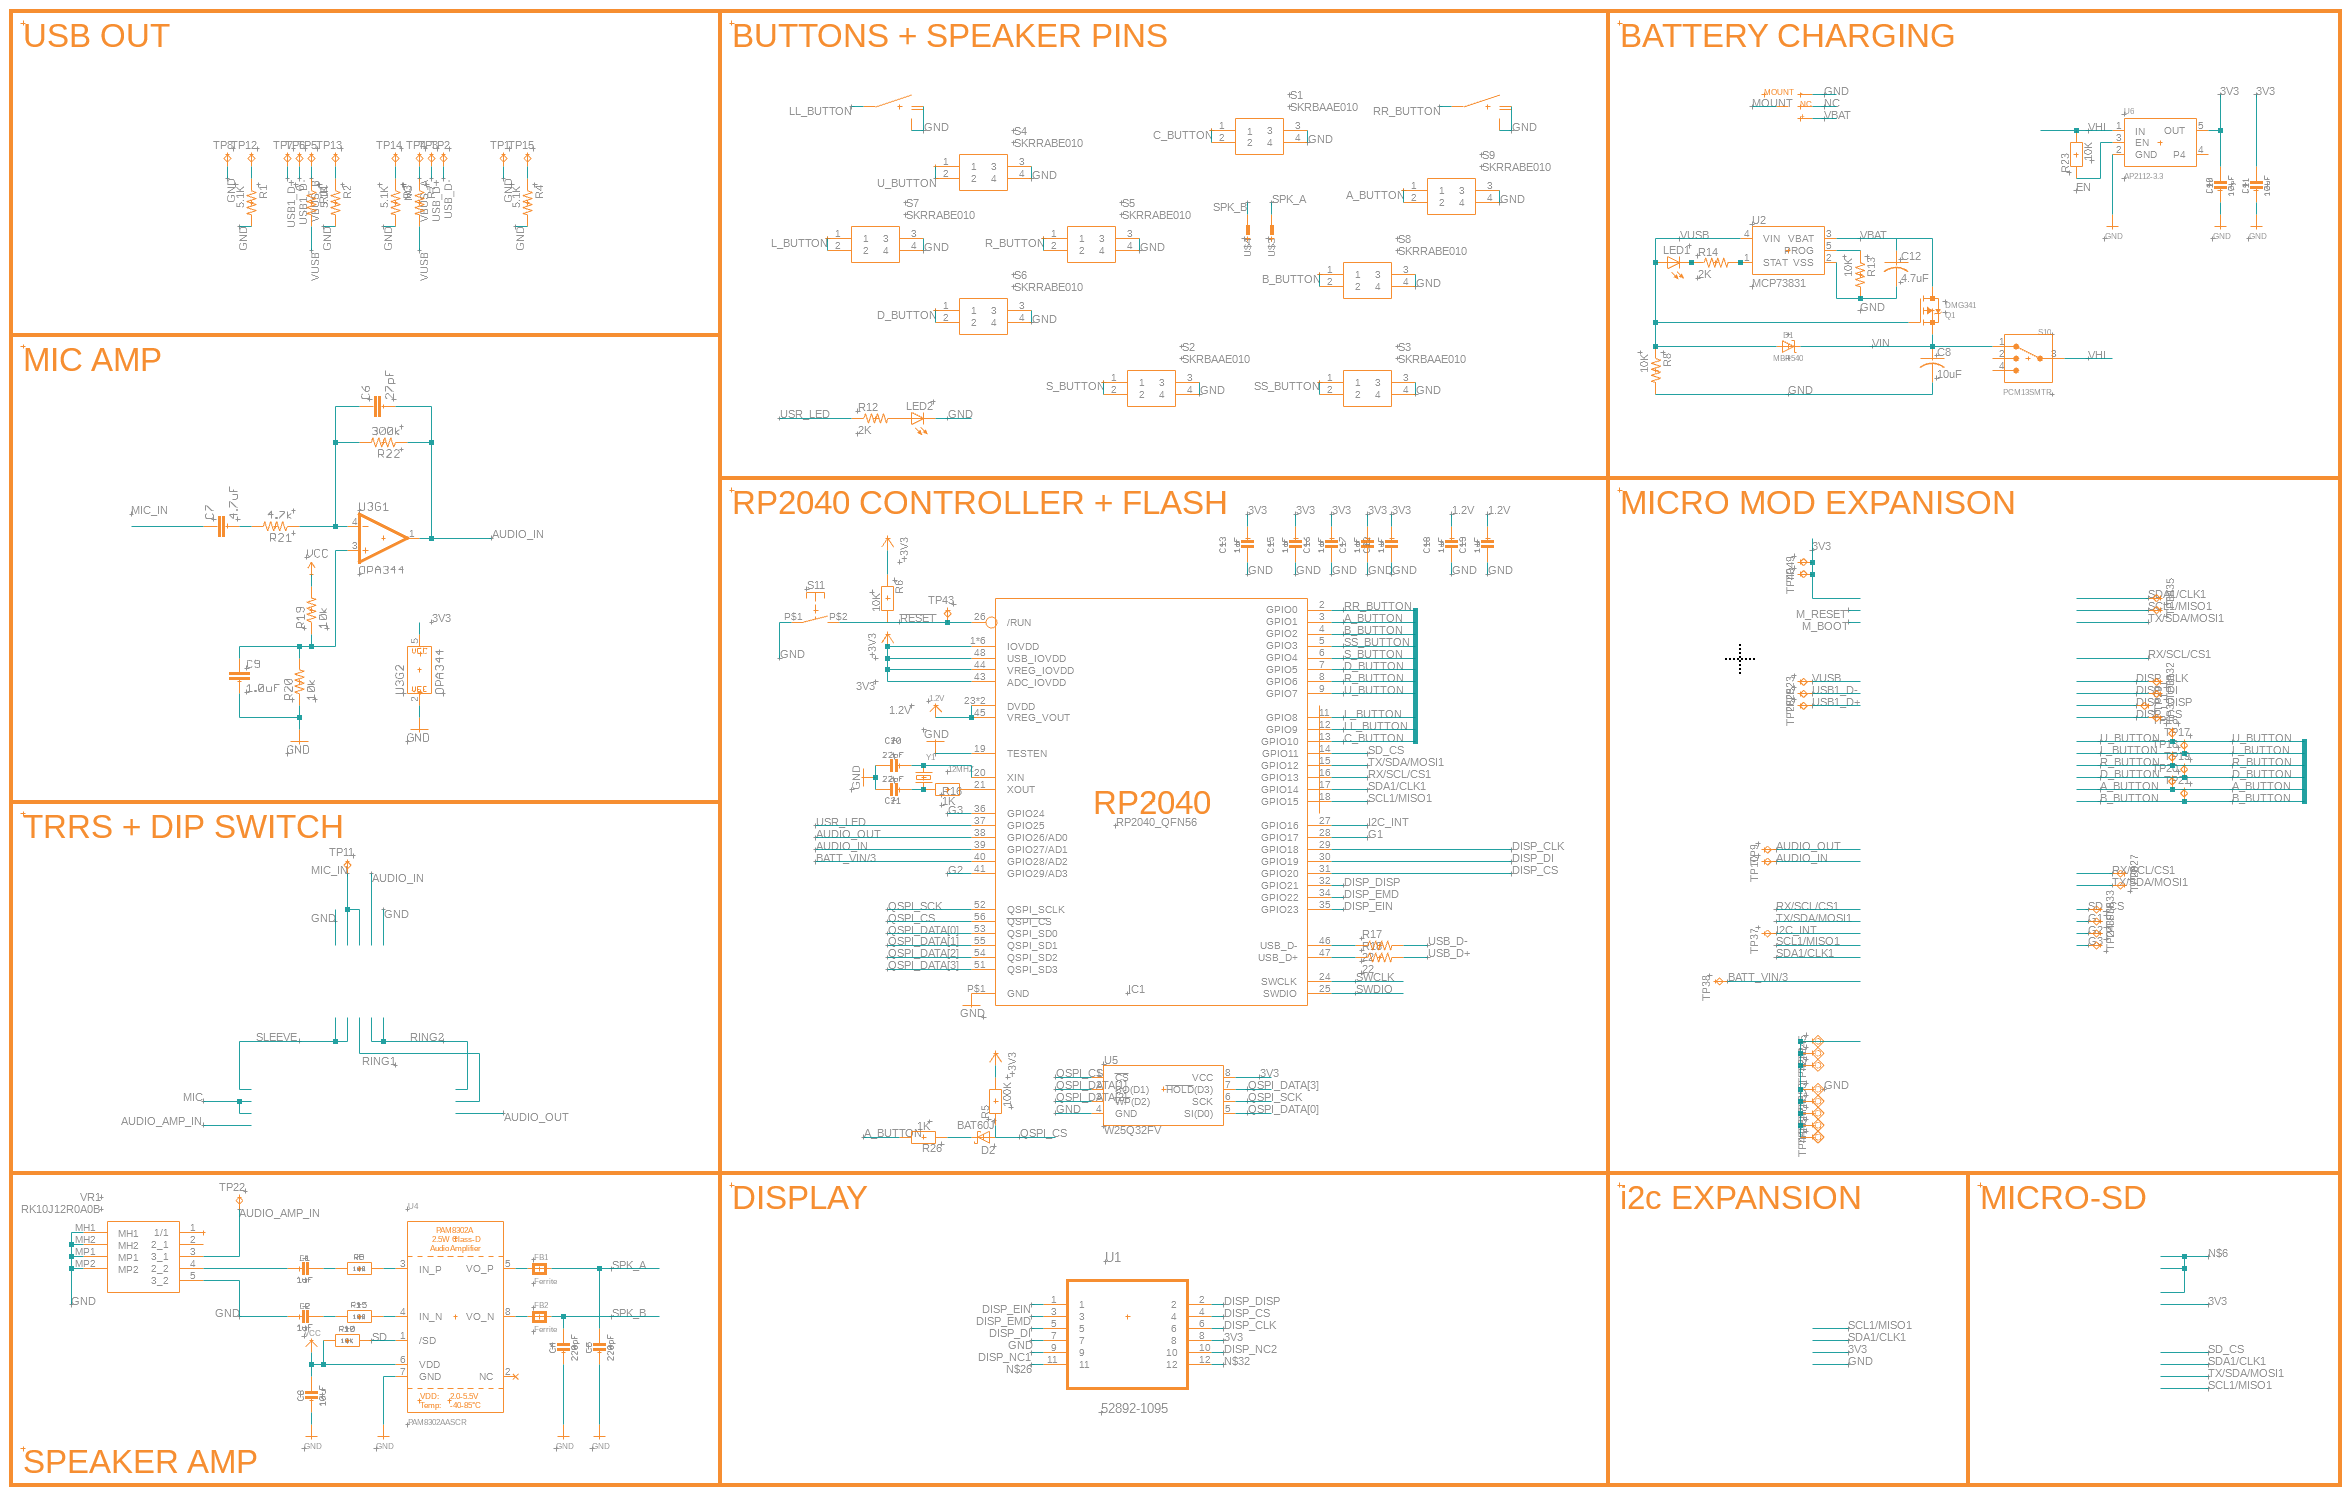
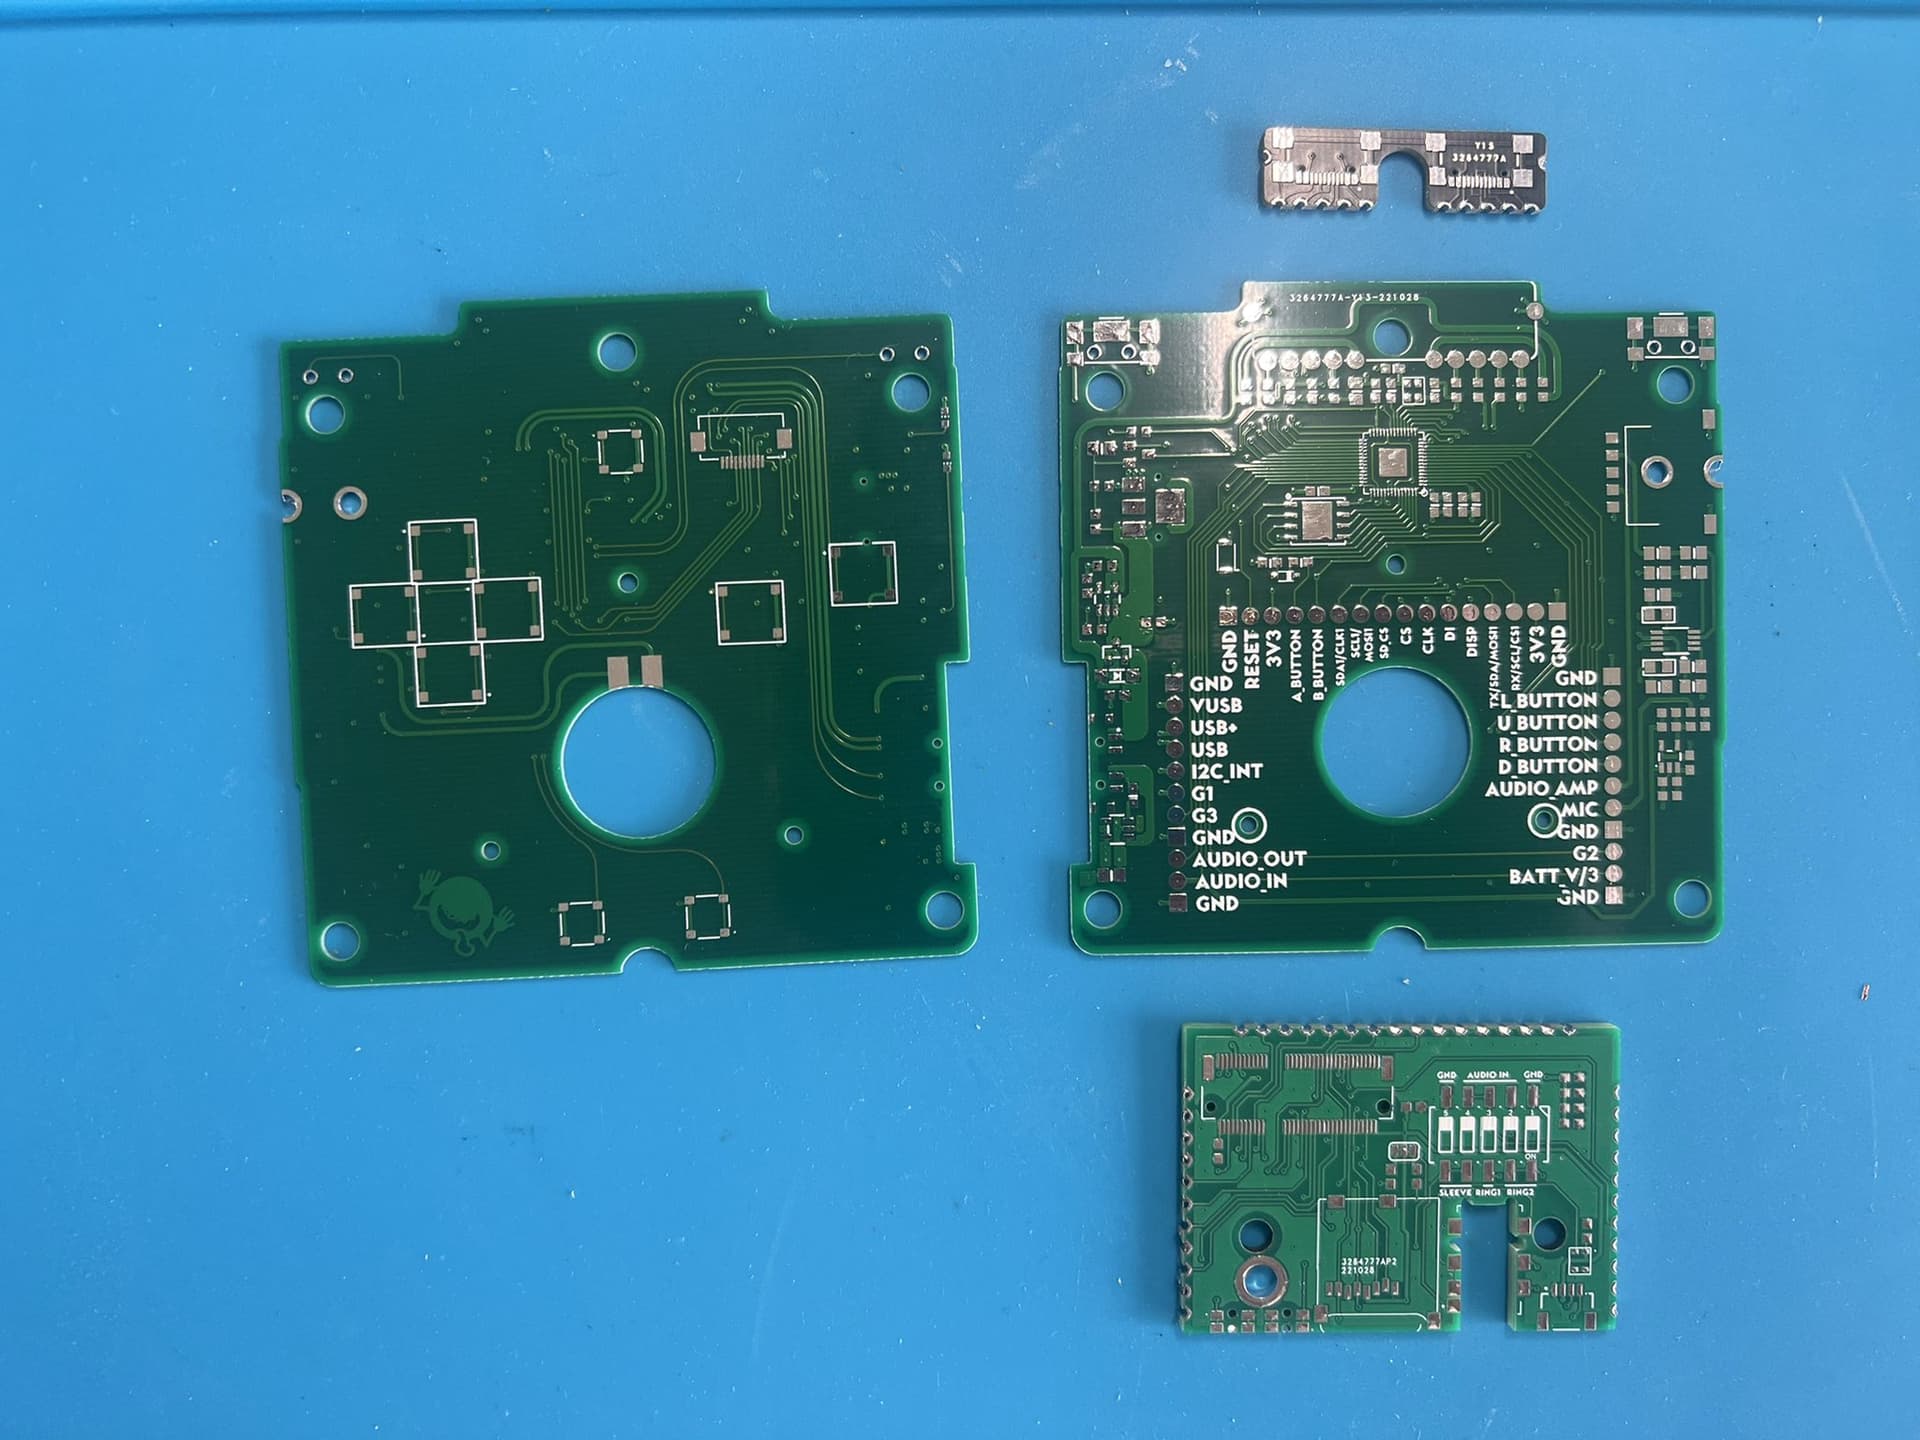
Pinout
| GPIO | FUNCTION |
|---|---|
| 0 | R Trigger |
| 1 | A Button |
| 2 | B Button |
| 3 | Select |
| 4 | Start |
| 5 | Down |
| 6 | Right |
| 7 | Up |
| 8 | Left |
| 9 | Left Trigger |
| 10 | C button |
| 11 | SD-CS |
| 12 | Micro-Mod TX/SDA/MOSI1 |
| 13 | Micro-Mod RX/SCL/CS1 |
| 14 | Micro-Mod SDA1/CLK1 |
| 15 | Micro-Mod SCL1/MISO1 |
| 16 | Micro-Mod I2C_INT |
| 17 | Micro-Mod GPIO1 |
| 18 | Display-CLK |
| 19 | Display-MOSI |
| 20 | Display-CS |
| 21 | Display-DISP |
| 22 | Display-EMD |
| 23 | Desplay-EIN |
| 24 | Micro-Mod GPIO3 |
| 25 | User LED |
| 26 | Audio Out |
| 27 | Audio In |
| 28 | Battery Voltage / 3 |
| 29 | Micro-Mod GPIO2 |
Libraries
Currently just the Adafruit libraries
Documentation
None so far
More
If you’re interested in purchasing one of these check out the main page at singleboard.computer
If you’ve got some feedback or are interested in helping, I know that there are others out there hacking GBA-SP and would love to share resources on designs especially on where to find good components!
This started out as a project to mess around learning circuit board design in fusion360, carrying over from my experience in eagle cad. It’s basically the same software just inside of fusion, and so learning how to go between the 2d design and the 3d shell I created was really fun. It got a lot of traction on twitter so it actually inspired me to create a patreon. I don’t think that was the right place for it because it didn’t motivate me to continue. So I’m happy to post it here!
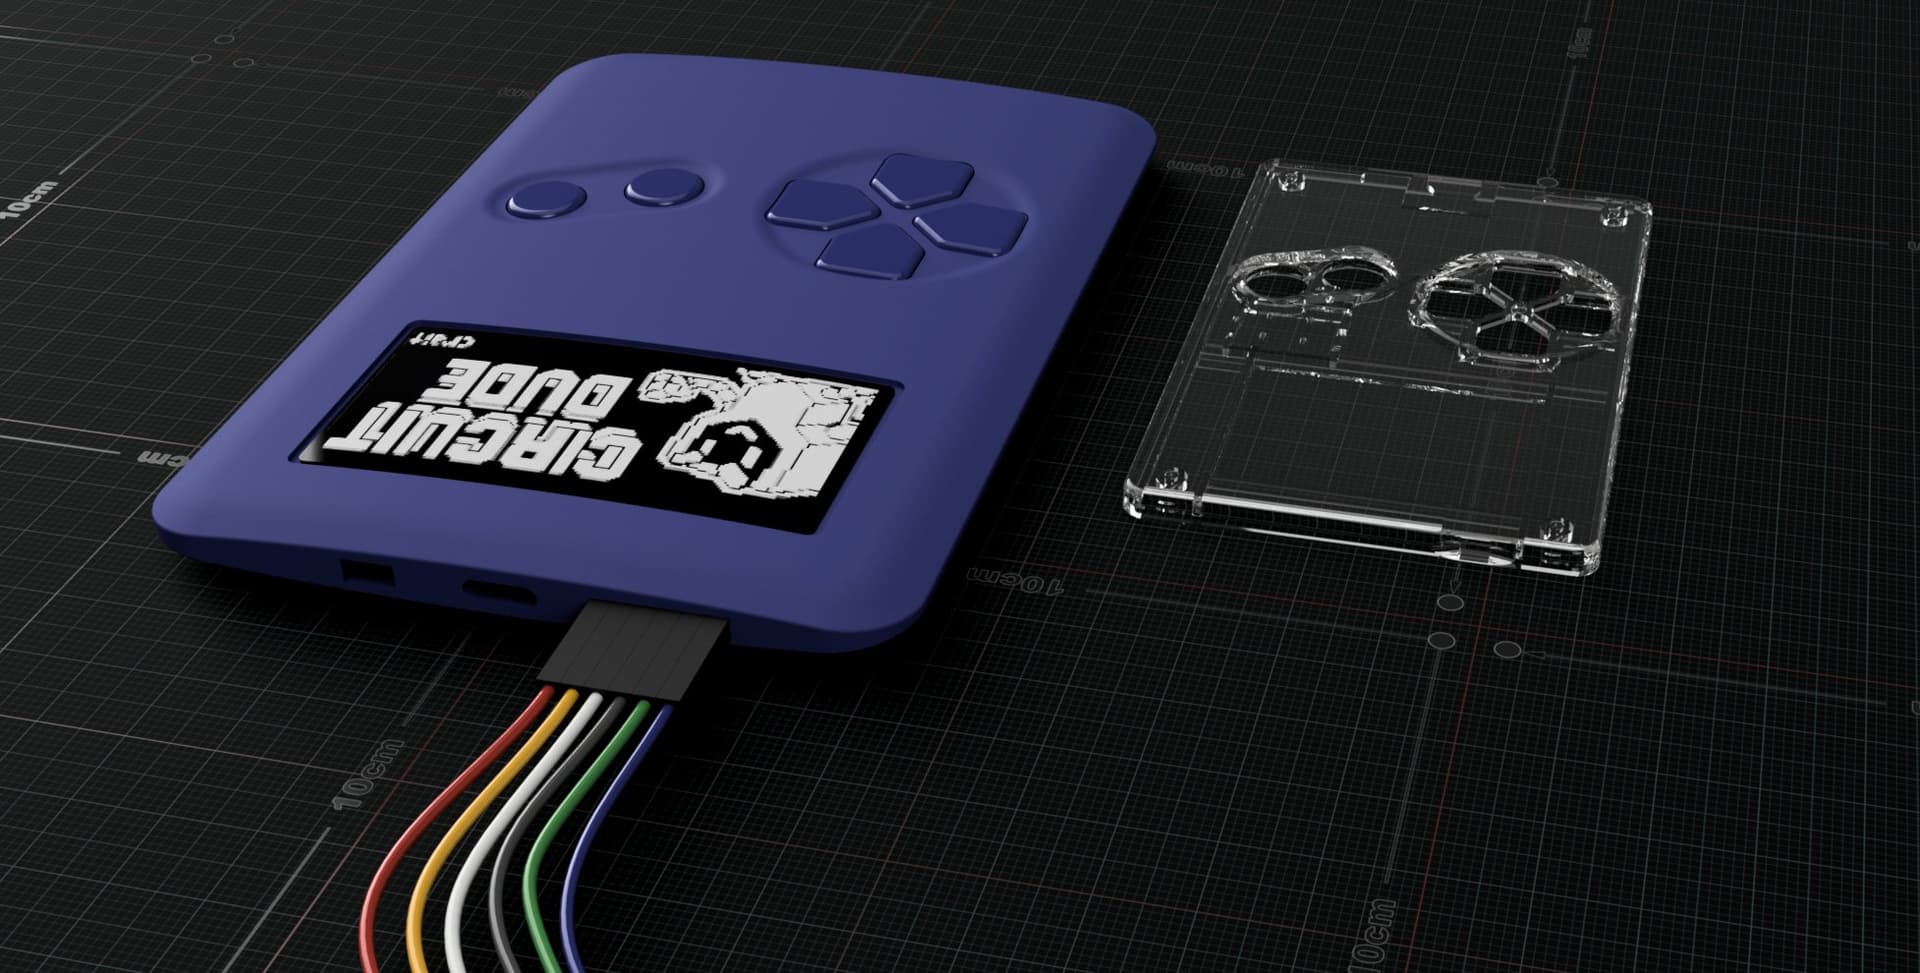
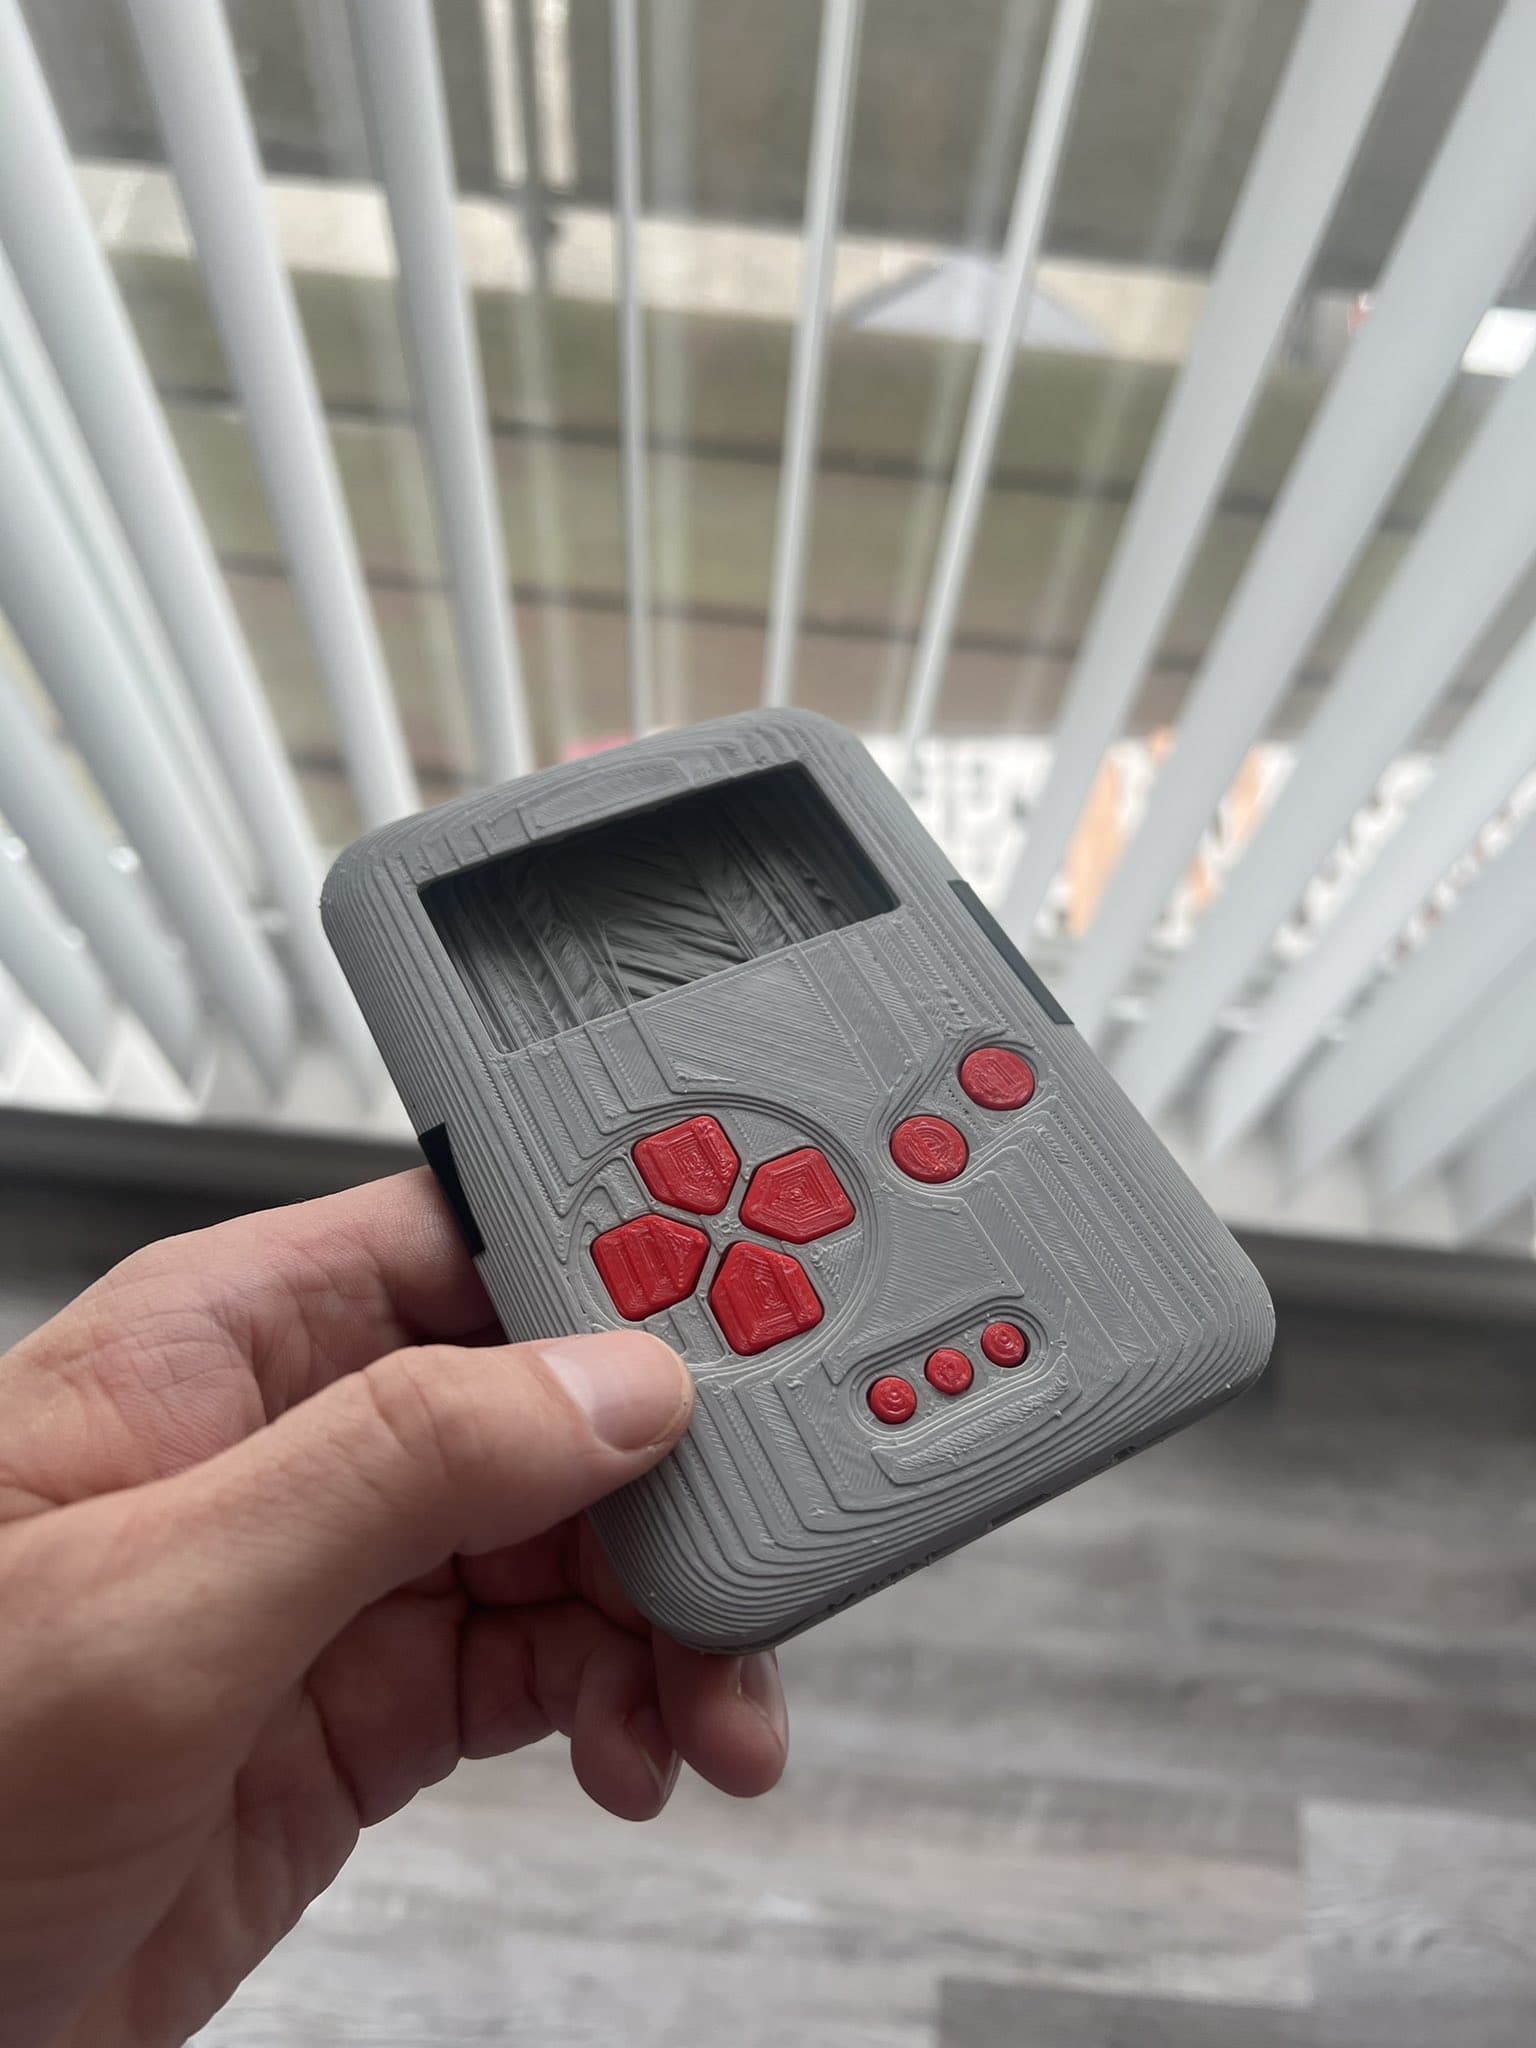
Here are some pictures that I previously shared on twitter, but might be cool to see together:
Click here to view development pictures
First jellybean concept
Imagining expandability, and getting a sense of scale
3d printing (so bad) a sample
Origonally I was working with an OLED similar to Arduboy, just larger:
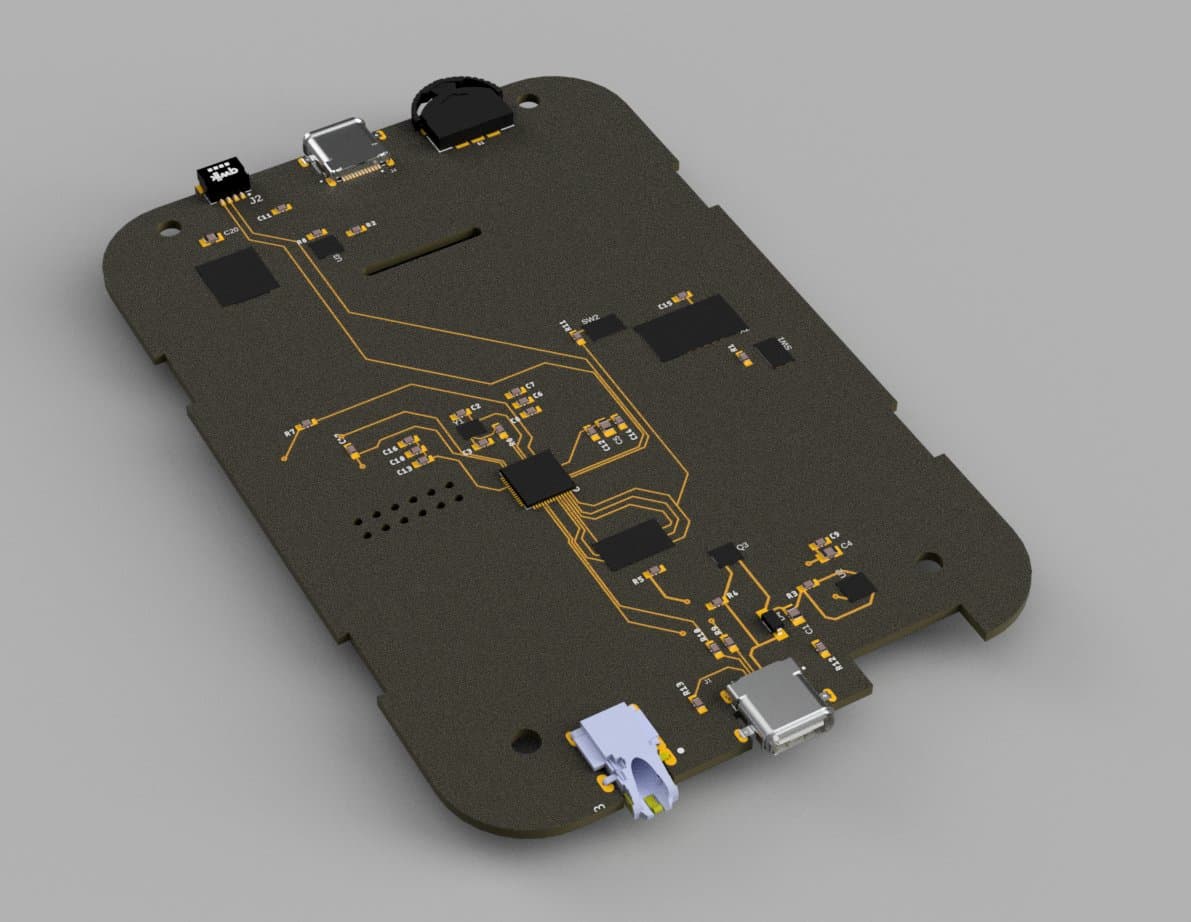
Nearly the whole board was designed! (Hope to do something with this in the future, stand by for future posts)
The switch to sharp lcd!
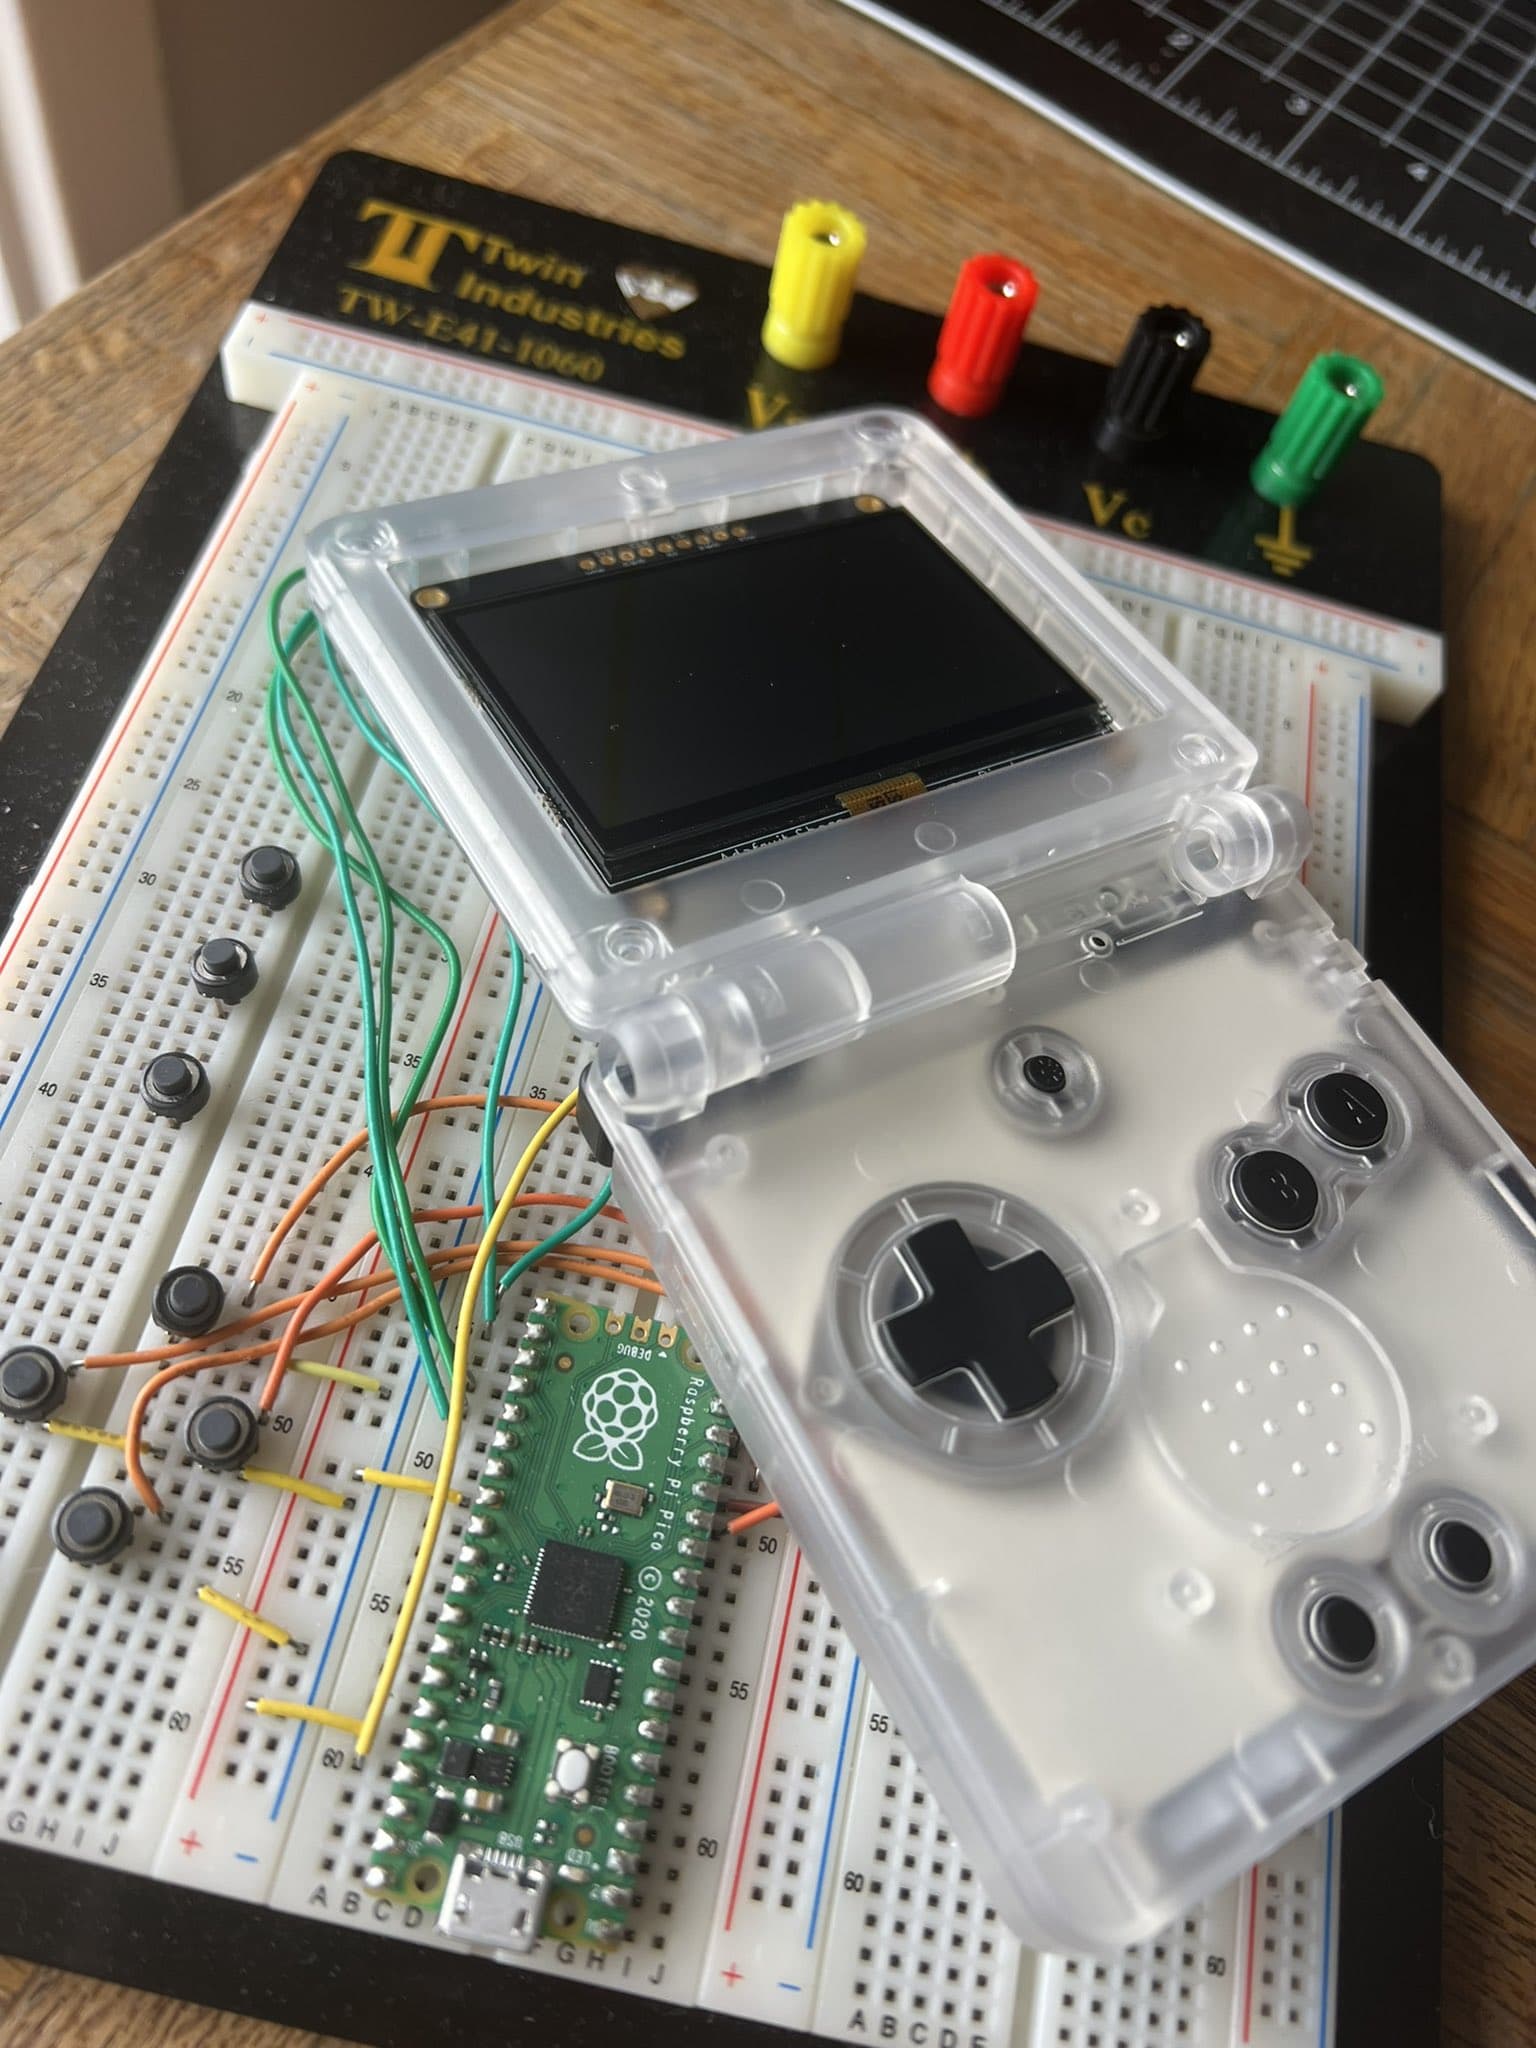
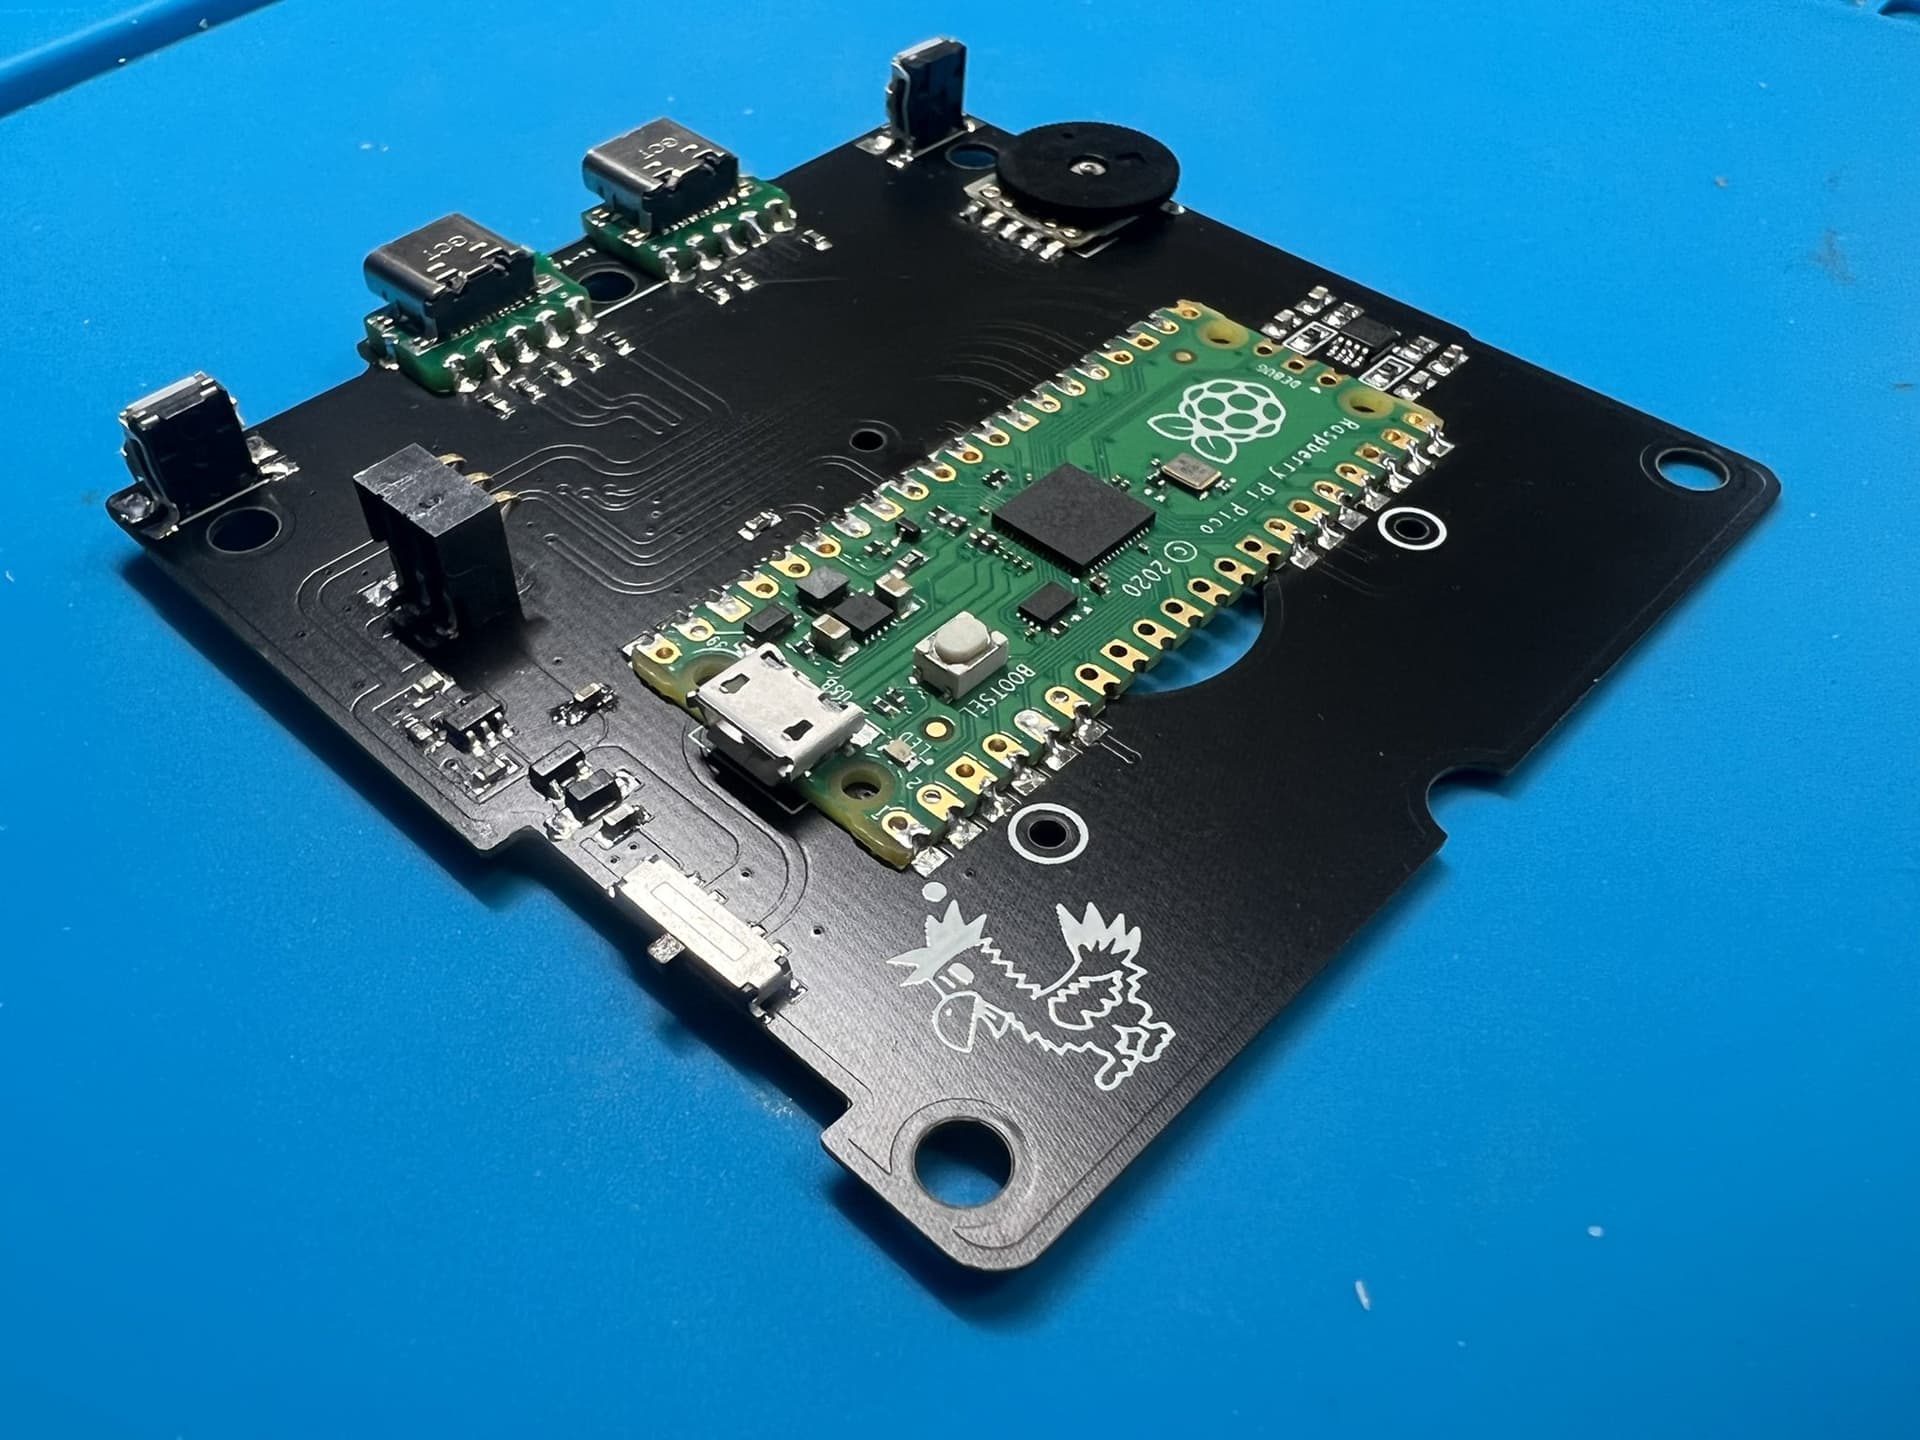
The first version was just a bunch of pinouts for testing
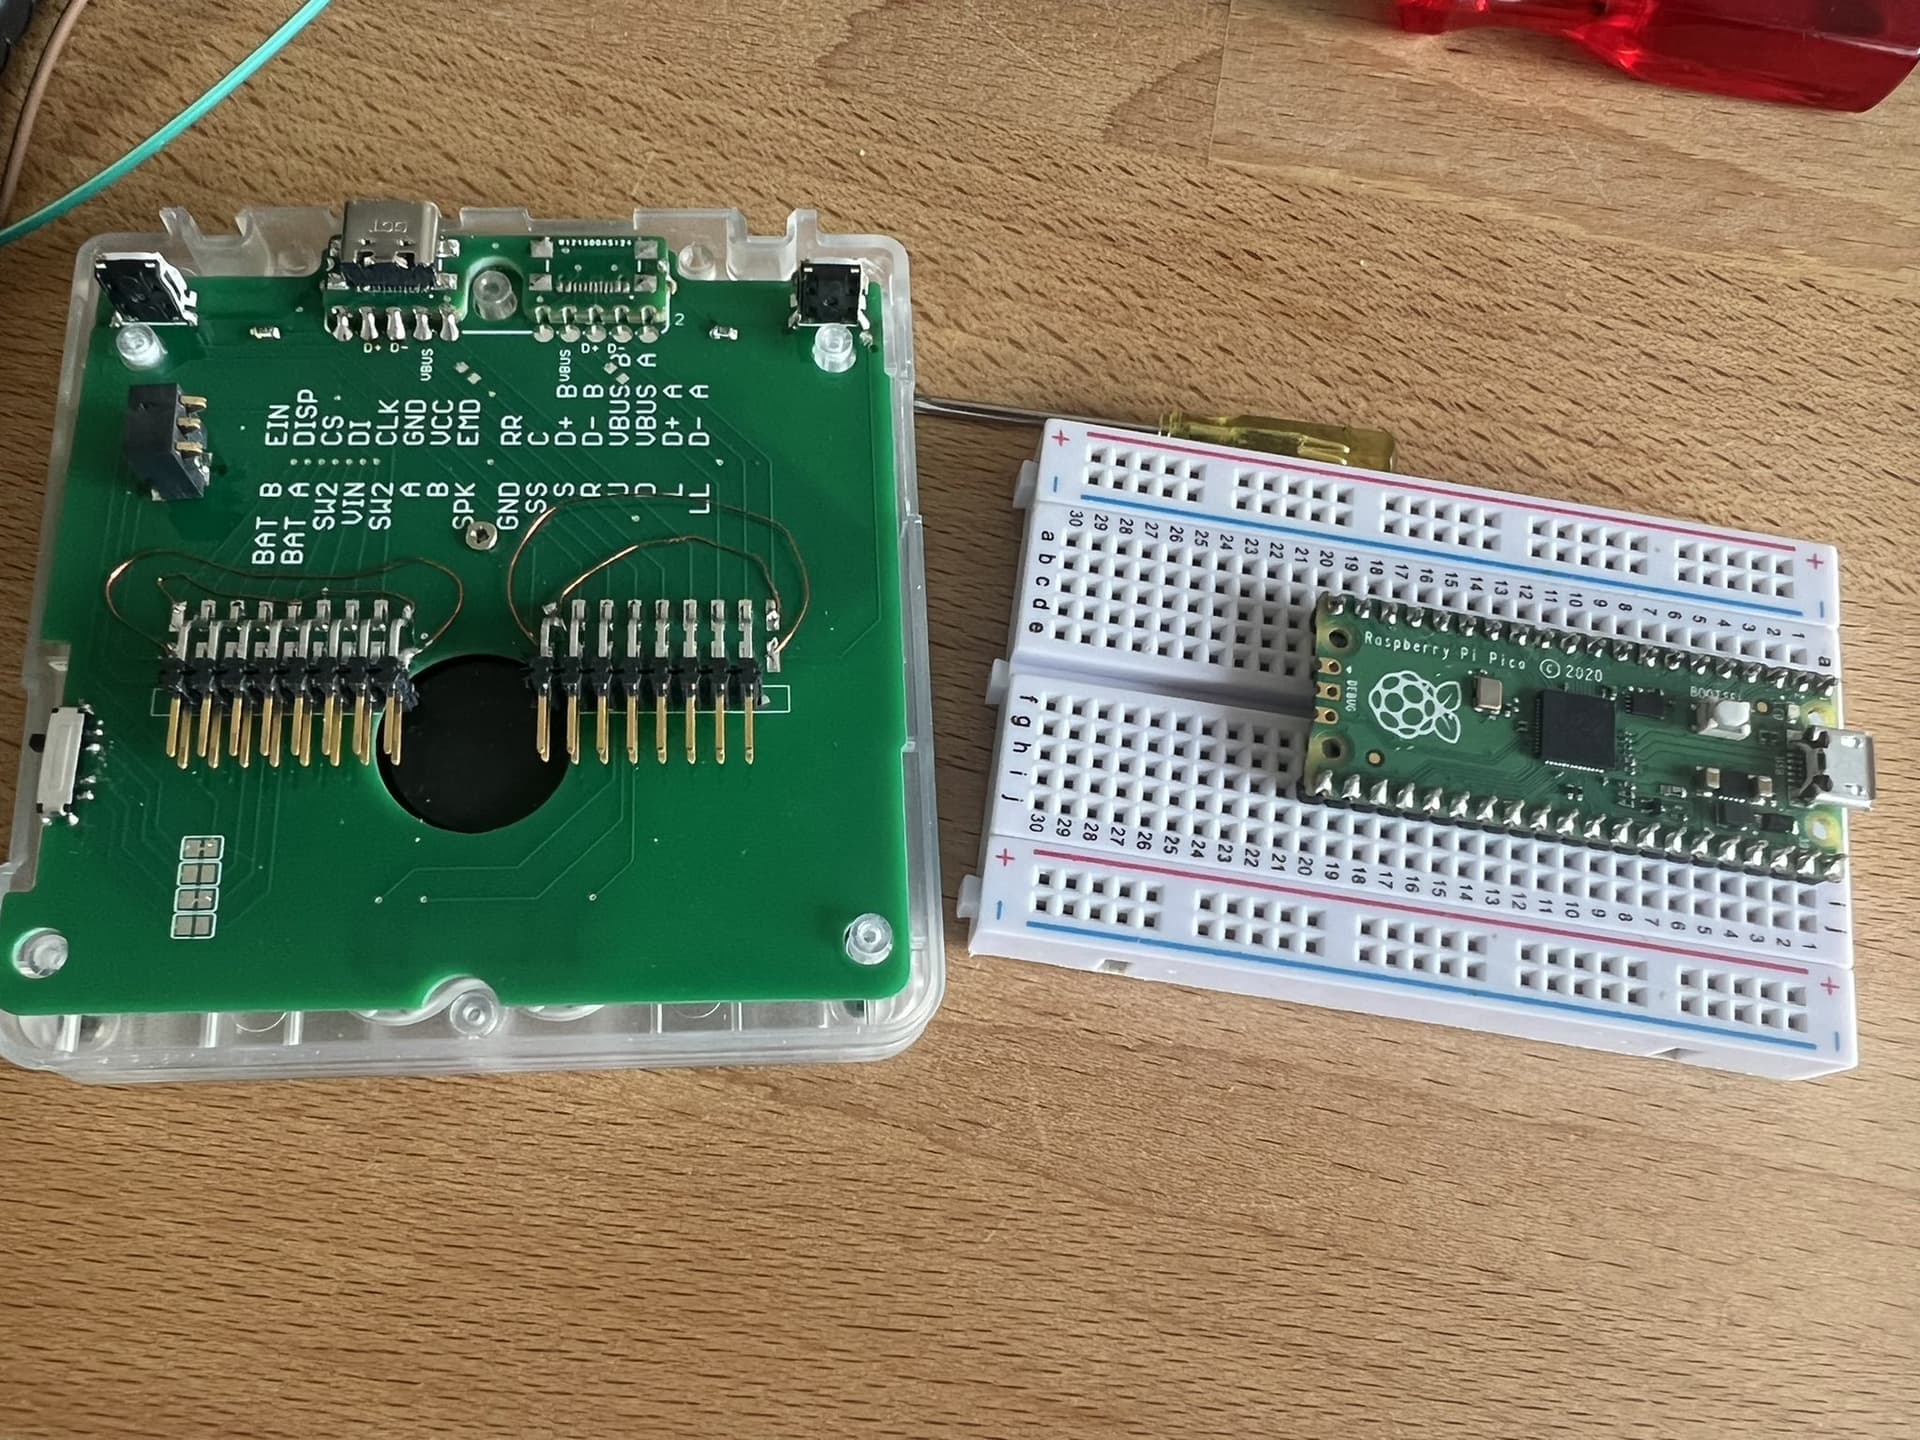
This could still be a viable lower cost, easier to produce version, with the complete RPi Pico on board
“And that’s when things got out of control”
If you like this post and have something to say questions or feedback, I encourage you to make the first comment on the forum! ![]()
P.s.
I will be giving a talk about the history and future of Arduboy at B-Sides Knoxville and Crowd Supply Teardown as well as a build your own Arduboy workshop at HOPE conference. Hope to see you there!